Hydraulic jacks are the best lifting tools to carry with you all the time. In case of an emergency, they allow you to change a tire with relative ease. They also allow you to lie under your car to make any fixing.
However, hydraulic jacks have a very limited permissible load range. In addition, they don’t allow you to adopt a comfortable position under your car. Certainly, you’ll have pain in your body after spending several hours under your car using one of these.

In those situations, car lifts are the best alternative. Car lifts can withstand up to 10,000 lbs. In addition, they can lift a car to higher heights, allowing you to work without problems.
Above all, car lifts are sturdy, solid and stable. Usually, they’re attached to the floor through anchor bolts. Therefore, you can be sure that the car won’t collapse on you during work.
Whether you have your own workshop or want to install one in your garage, this complete guideline will explain in simple steps how to install a two post car lift at home and not fail in the attempt. Pay close attention and follow each step very carefully.
What is Two Post Lift?
It’s a tool used to lift very heavy cars. Most models on the market can withstand maximum loads between 6,000-10,000 lbs.
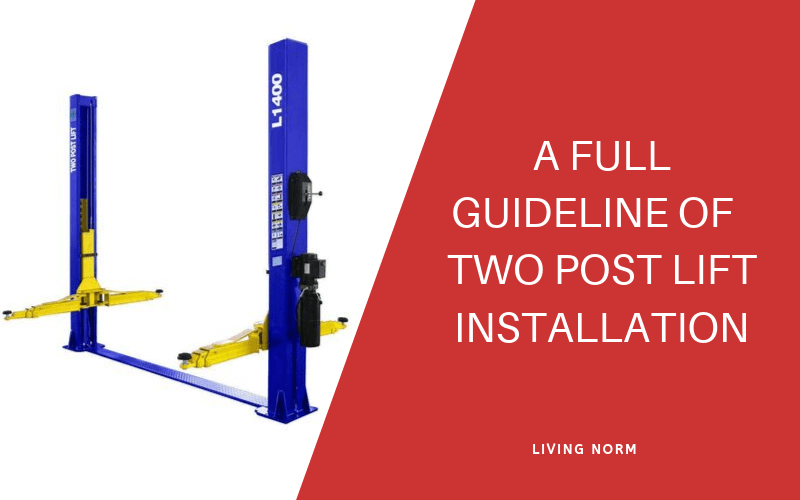
Their main parts are: two rectangular steel posts, two lifting arms, a 2-3 HP electric motor, hydraulic pistons, gears and chains. To operate a two post lift, you just need to press a button that drives the entire mechanism.
Most two post lifts use structural steel profiles with thicknesses between 5-6 mm. Steel is cheap and lightweight compared to other materials. In addition, it’s resistant to high temperatures, corrosion and high stress.
To lift, this tool uses two lifting arms, located under the lifting points of the vehicle. In some cases, the lifting arms are too short for larger cars, SUVs and trucks. In that case, you can install special adapters that extend the arms’ length.
However, adapters add more weight, impeding the lifting tool to withstand the maximum admissible weight. Some two post lifts need 110V to work. These are the best to install in any garage.
However, those who lift too large loads usually need 220V to operate. Before choosing any product, it’s convenient to know the voltage available at the installation site.
If you don’t have a 220V outlet, you’ll surely need to hire an electrician.
Step by Step Guide to Install Two Post Car Lift at Home
Requirements
First of all, you must be sure that the concrete slab meets the following requirements:
- Thickness: +8 inches.
- Tensile strength: +3,500 psi.
- Reinforced with wire mesh.
These are the minimum requirements to install car lifts for maximum weights between 9,000-10,000 lbs. However, for lower models, the requirements may vary. Therefore, be sure to check out the user guide before installing.
Installation Steps
If the concrete slab is appropriate for the two post car lift, it’s time to start the installation. You just have to follow these steps:
- Install the extensions on each column. For convenience, lay down the columns on the floor before starting.
- With the help of a chalk, mark the final position of each column on the floor. Be sure to keep the minimum space between columns specified in the instructions.
- With the help of another person, lift the columns and place them in their corresponding position.
- Using a bubble level, verify that the columns are perfectly vertical. If not, place dummy shims underneath each column until reaching the desired level.
- Then with the help of another person, install the overhead bar. Be careful not to move the columns because they aren’t set to the floor. For this step, you’ll need to use two folding ladders of adequate height.
- Then, drill the first hole to the required depth. After that, use compressed air to remove excess dust from the holes. Then, fill the hole with epoxy glue and with the help of a hammer, set the expandable anchor bolt.
- With the anchor bolt in place, use a ratchet wrench to expand the mechanism. Repeat steps 6 and 7 until you completely set the first column to the floor.
- With a bubble level, verify that the second column is completely vertical. Otherwise, hit the column several times until it’s in the required position. Then, repeat steps 6 and 7 with the second column.
- Install the hydraulic lines and steel cables, following the product instructions.
- Set the lifting arms.
- Install the power unit and add the required transmission oil.
- Set the safety locks.
- Join the hydraulic lines with the power unit.
- Install the clamps to keep hydraulic lines in place.
- Set the safety cut off wire and attach it to the safety switch in the power unit.
- Apply grease in the internal spaces of each column, to prevent friction with the moving parts.
- Adjust the lifting cables so that both lifting arms reach the same height at the same time.
Conclusion
Installing a two post lift is easier than it seems. Before you begin, remember to have on hand all the tools and materials needed for installation. You’ll also need the help of another person during the process.
Obey each and every suggestion in the installation manual. If the product doesn’t include a physical manual, you can visit the official website of the product and get it there. When there’s no manual, video tutorials on the Internet can help you too.
If you carefully follow the steps in this tutorial, you’ll have no problems and will finish the installation in a few hours. And don’t forget about periodic maintenance to make it long-lasting.
You may also like to read: